Click for the Raspberry Pi Mount in our store.
Raspberry Pi Prototyping Mount - Information
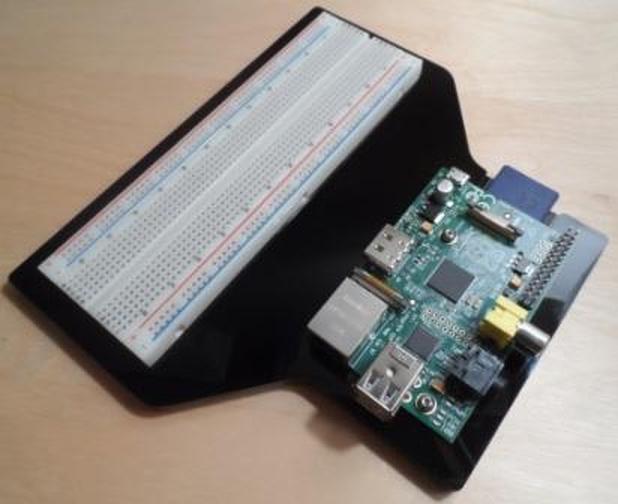
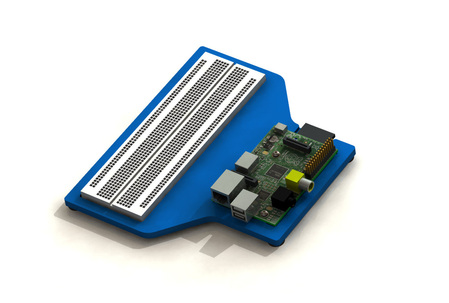
The Raspberry Pi mount (Generation 1) is the newest mount offered from Phenom Engineering. It mounts a Raspberry Pi (Rev B) board and a large (830 pin) breadboard. The board is secured with two #4 screws, two #4 nuts and four non-conductive spacers. The mount is available in red, black and blue acrylic.
Assembly Instructions
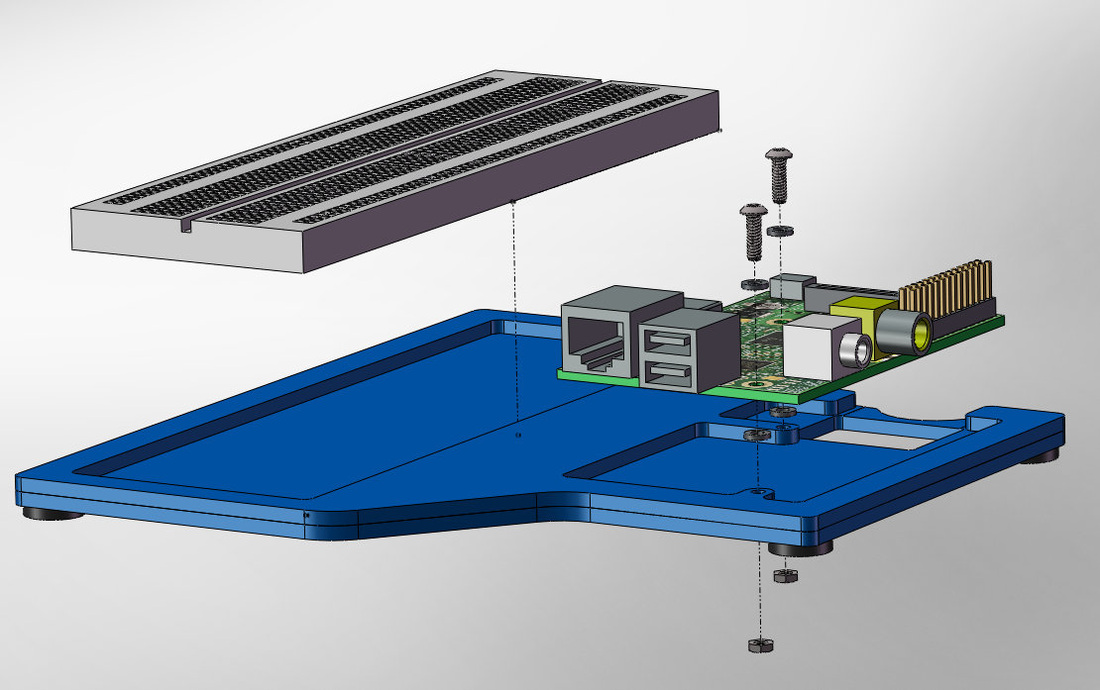
Step 1. Place one spacer onto each mounting hole.
Step 2. Place a spacer onto each of the screws.
Step 3. Install a screw/washer set into the board's mounting holes.
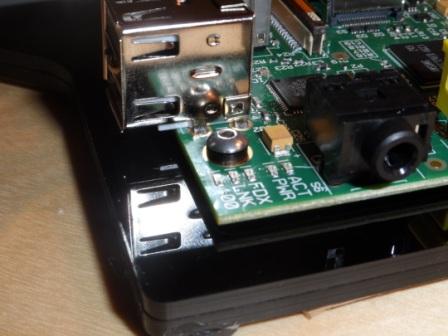
Step 4. Set board onto the mount, ensuring the screws go through the spacers from step 1.
Step 5. Holding the screws and the board to the mount, turn them over.
Step 6. Thread nuts onto screws until they are started.
Step 7. Turn mount right side up and tighten screws by hand, or use a 1/16" hex (Allen wrench).
Step 8. Stick breadboard to mounting location.
Step 2. Place a spacer onto each of the screws.
Step 3. Install a screw/washer set into the board's mounting holes.
Step 4. Set board onto the mount, ensuring the screws go through the spacers from step 1.
Step 5. Holding the screws and the board to the mount, turn them over.
Step 6. Thread nuts onto screws until they are started.
Step 7. Turn mount right side up and tighten screws by hand, or use a 1/16" hex (Allen wrench).
Step 8. Stick breadboard to mounting location.
Additional Pictures

|
|
